Build Your Home Refill Station with Confidence

Today we’re setting up a home refill station, dialing in the right containers, smart funnels, and reliable labeling habits. Expect fewer spills, longer-lasting products, and a routine that feels satisfying every single time. I’ll share practical steps, small wins, and missteps to avoid so your setup becomes cleaner, safer, and genuinely easier to maintain. Share your best labeling trick or spill-saving hack so we can feature it and help others upgrade their stations too.

Containers That Keep Products Fresh and Safe

Before you pour a single ounce, pick containers that respect the product. Glass resists odors and solvents, stainless steel blocks light and oxygen, and HDPE handles bumps without shattering. Match shapes to shelves and hands. After a shampoo explosion, I learned seals and stackability matter more than aesthetics.

Funnels, Spouts, and Pouring Tools That Stop Spills

A humble funnel decides whether refilling feels peaceful or chaotic. Wide-mouth designs tame grains and powders, while narrow stainless tips guide oils without dribbles. Silicone collapses, saving space, but rigidity can matter for accuracy. After a vinegar splash, I began pairing flow rate, neck size, and product thickness deliberately.

An Effortless Labeling System You’ll Trust

Labels defend safety and sanity. Record contents, dilution, refill date, and any allergens. Waterproof options endure steamy kitchens and wet bathrooms. Add QR codes linking to recipes or suppliers. After two identical amber bottles caused confusion, I switched to color-coded borders and finally stopped sniff-testing everything before dinner.

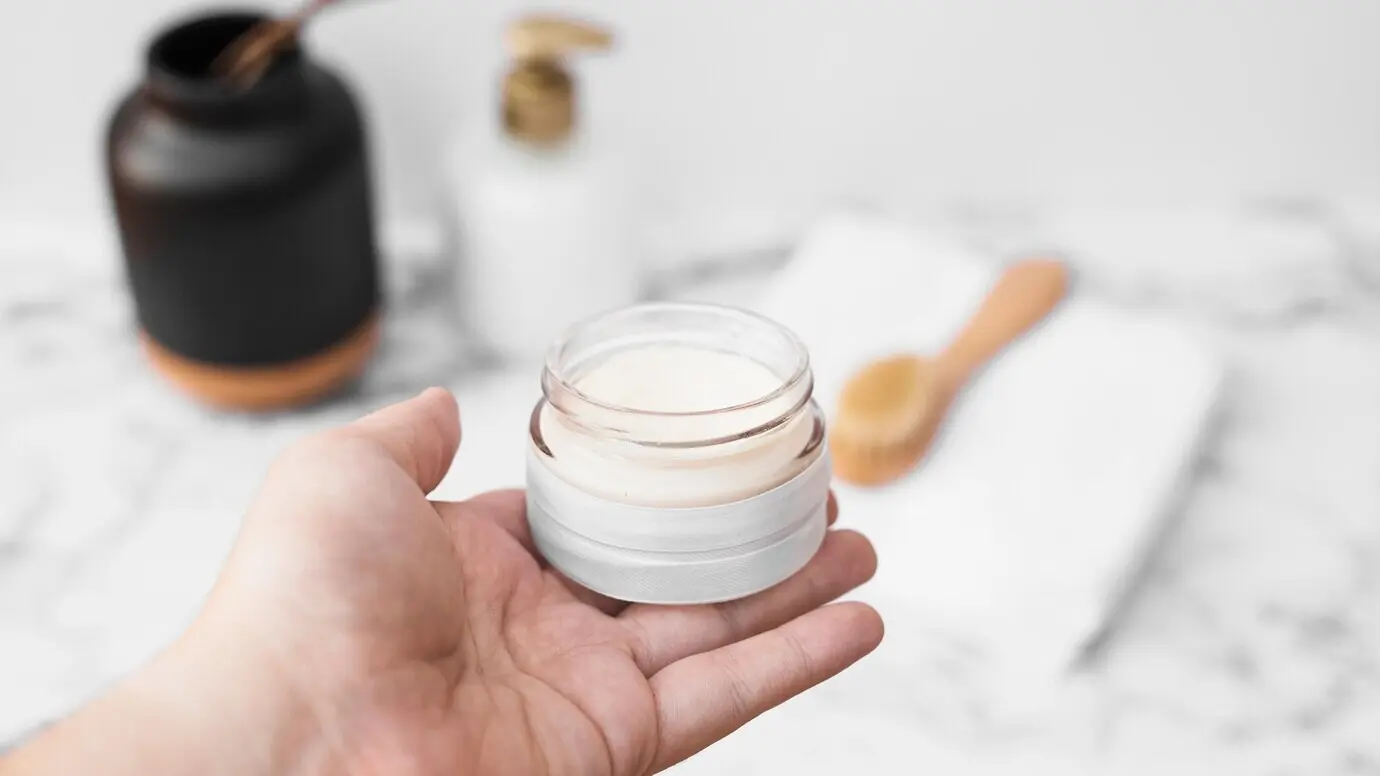
Layout and Workflow: Turn a Shelf into a Smooth Station

Good flow stops procrastination. Dedicate a stable surface for decanting, a clean zone for drying, and a quarantine corner for mystery leftovers. Keep absorbent mats beneath everything. After reorganizing into zones, my refills dropped from chaotic bursts to calm five-minute routines that never interrupt breakfast anymore.

Cleaning and Sanitizing Between Refills

Residue ruins performance and scents, so commit to simple, repeatable cleaning. Rinse with warm water immediately, then wash with fragrance-free soap. Sanitize with diluted alcohol or boiling water when appropriate. Air-dry fully upside down. A printed checklist by the sink turns forgetfulness into a reliable, shared household habit.

When to Deep Clean vs Quick Rinse: A Practical Schedule

Quick rinse after every transfer, full wash weekly, and sanitize monthly or when switching product categories. Oils and pet products deserve extra attention. Track with tick boxes on the label. Consistency prevents mystery films, chemistry surprises, and slow, sneaky failures that are far harder to diagnose.

No-Residue Methods: Fragrance-Neutral Cleaning

Skip scented detergents that haunt future batches. Use fragrance-free soap, hot water, and a final rinse with diluted vinegar or alcohol to strip oils. Dry thoroughly; hidden droplets nurture odors. If a smell persists, retire the container to non-aromatic duties and document the lesson for next purchases.

Budget, Sourcing, and Community Swaps

Start with what you own, then upgrade strategically. Reuse sturdy jars, replace problem lids, and buy only the pieces that change outcomes. Measure cost per ounce saved, not just sticker price. Local refilleries, hardware stores, and online swaps offer surprising fits. Share finds; collective wisdom multiplies good choices.
Pokirekevaku
Privacy Overview

This website uses cookies so that we can provide you with the best user experience possible. Cookie information is stored in your browser and performs functions such as recognising you when you return to our website and helping our team to understand which sections of the website you find most interesting and useful.